Printable Enclosure tutorial · Part 3 of 7
Text and Image pages
Add a Text page with a safety note, an Image page of the finished box, and closing instructions around your 3D steps.
Tutorial part 3 of 7 in the Printable Enclosure series. Give your manual a proper beginning and end with a safety note, an image of the finished box, and closing instructions.
- Audience: Authors who have finished Cameras, moving parts, and arrows.
- Before you begin: The Printable Enclosure manual at version
1.1.0, open in the editor. - Starting point: Five 3D steps, with the hinge pin and latch shown going on.
- End result: The same manual, now opening with a safety note and an image of the finished box, and closing with instructions for using the latch. You will publish it as a new version.
What we are improving
In part 2 you added arrows and gave the hinge pin its own camera. The manual explains the assembly well now, but it is still nothing but 3D steps. Walk through it as an end user and you will notice:
- It jumps straight to the finished box, with no safety note before the end user starts handling parts.
- It never shows what the end user is building before the first step.
- It stops at the last part, with nothing on how to actually use the box.
We will fix all three with two new kinds of manual items: Text and Image. If you want the full picture of when to use each one, Step types: 3D, Image, Text, and Section covers it. Here we will just use them on the box. Your 3D steps stay exactly as they are.
The order we are building
When we are done, the manual will read like this from top to bottom:
| # | Item | What it holds |
|---|---|---|
| 1 | Text: Before you start | A safety note |
| 2 | Image: The finished box | A picture of the goal |
| 3–7 | 3D steps: Finished box to Latch | The five steps you already have |
| 8 | Text: Using the latch | How to open and lock the finished box |
One thing worth knowing up front: a new item is always added directly after the one you have selected. That is why the steps below select a specific item before adding anything.
1. Add a safety note
Printed parts can have sharp edges, so it is worth warning the end user before they pick anything up.
- Open the editor and select the Steps tab.
- Select the first step, Finished box, then select Add manual item (the + icon) and choose Text. The new item lands directly after Finished box. Don't worry that it is in the wrong spot, we will move it next.
- Set Step Title to
Before you start. - In Instructions, enter: “Printed parts can have sharp edges or stringing. Trim them with a craft knife, cutting away from your fingers, and check that the pin slides.”
2. Move the safety note to the top
A safety note only helps if the end user reads it first, so it needs to open the manual.
Drag Before you start by its handle up past Finished box and drop it at the top of the list. Daedum shows a short message confirming the new position once it lands.
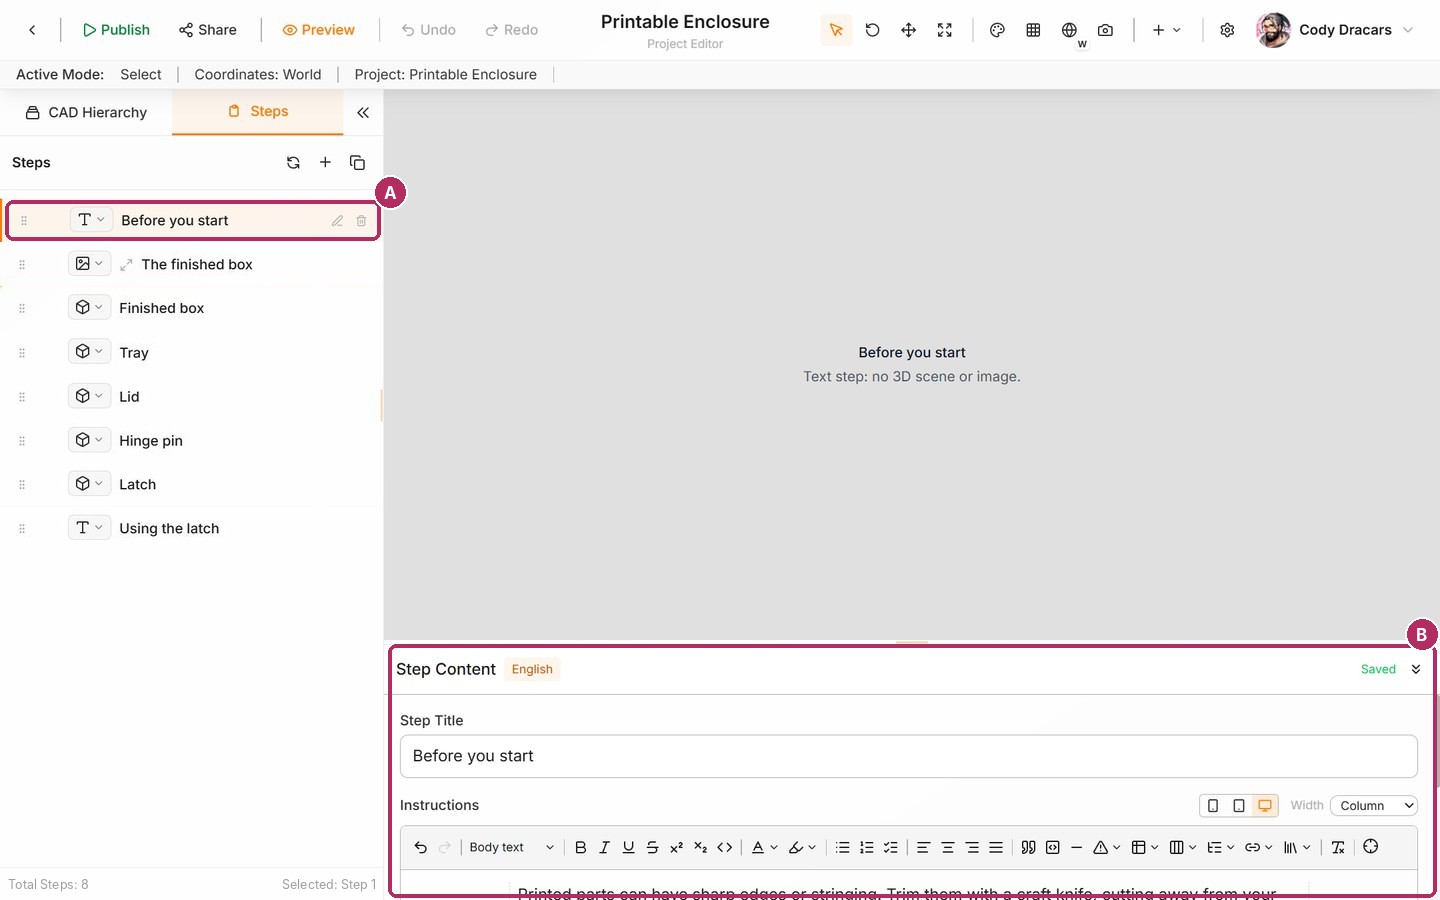
- (A) is the Text item, now first in the Steps list.
- (B) is its content panel.
You will notice there is no camera or parts list to set up here. A Text item is just words, no 3D scene.
3. Show the finished box
Most people glance at the finished product before they start building, so let's give them a picture of it right after the safety note.
- Select Before you start, then Add manual item, and choose Image. It lands directly after the safety note.
- Set Page Title to
The finished box. - Under Media, choose or drop
render-hero.jpg. It is the render of the finished enclosure from the Printable Enclosure download. - Scroll down to Image Fit and keep Contain.
There are two choices under Image Fit:
- Contain shows the whole picture, adding bars at the sides if its shape doesn't match the frame. This is the one you want for a render like this.
- Cover crops the picture to fill the frame.
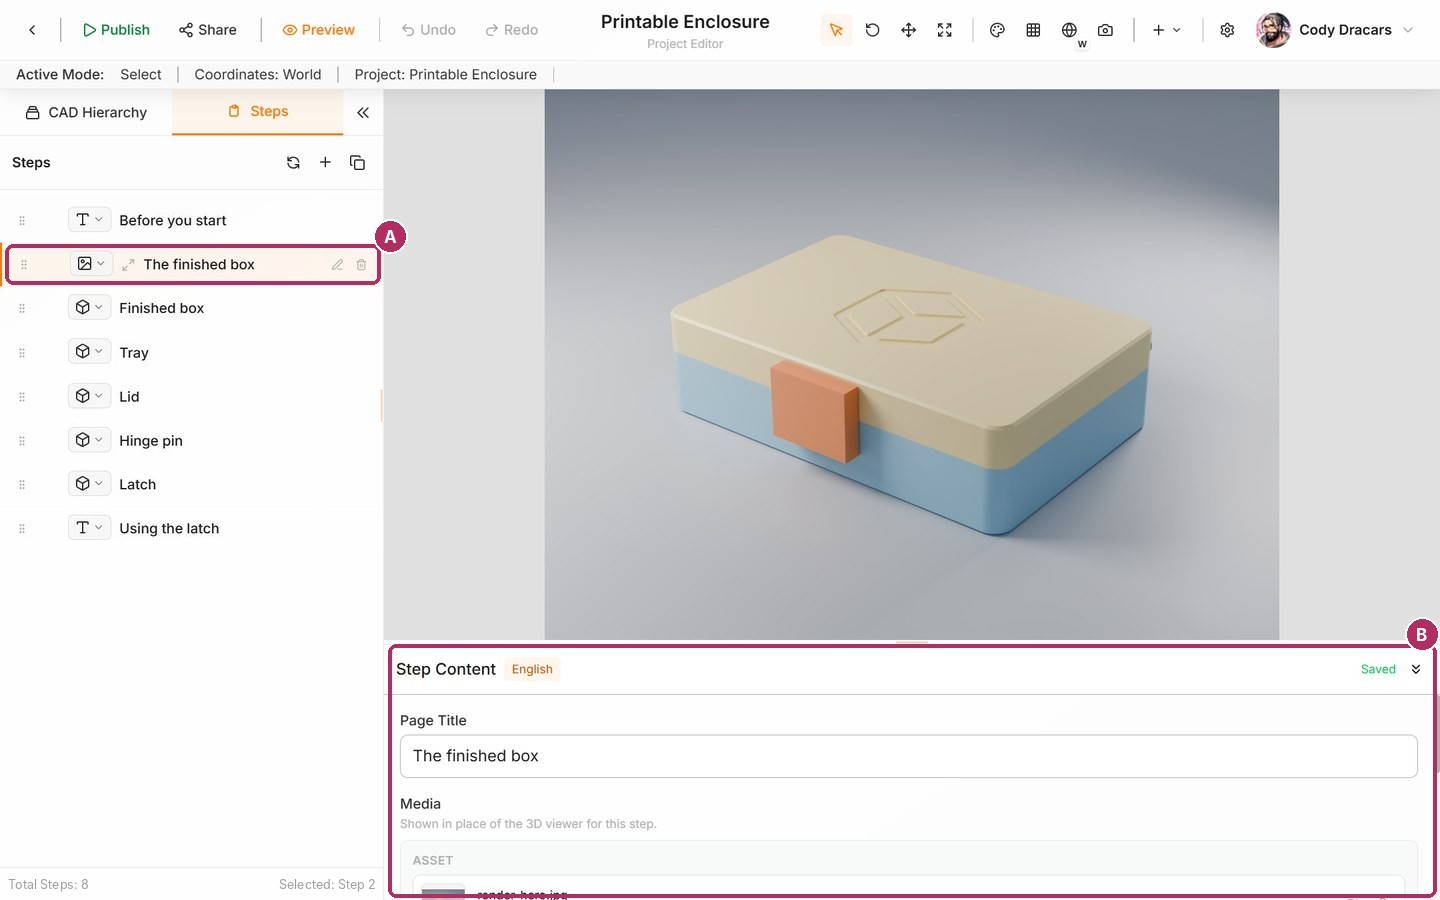
- (A) is the Image item, second in the list.
- (B) is its content panel.
For this page, the picture takes the place of the 3D view.
4. Add closing instructions
Right now the manual ends the moment the box is assembled. Let's add a short note on how to use it.
- Select the last step, Latch, then Add manual item, and choose Text. It lands at the end of the list.
- Set Step Title to
Using the latch. - In Instructions, enter: “Slide the latch off sideways to open the lid. Slide it back on to lock it.”
Your Steps list should now read Before you start, The finished box, the five 3D steps, and Using the latch. That is eight items in all.
5. Check the manual as an end user
Select Before you start, then select Preview in the editor toolbar (top left, or press Ctrl+Alt+P). The end-user view opens on the first page. Every item counts as a page, so the manual now runs to eight pages.
Use Next Step to walk through it, and check that:
- Page 1 is the safety note, and page 2 is the finished box.
- The image shows the whole render, with no part of the box cropped off.
- Pages 3 to 7 are your five 3D steps, still in their original order.
- Page 8, Using the latch, is the last page.
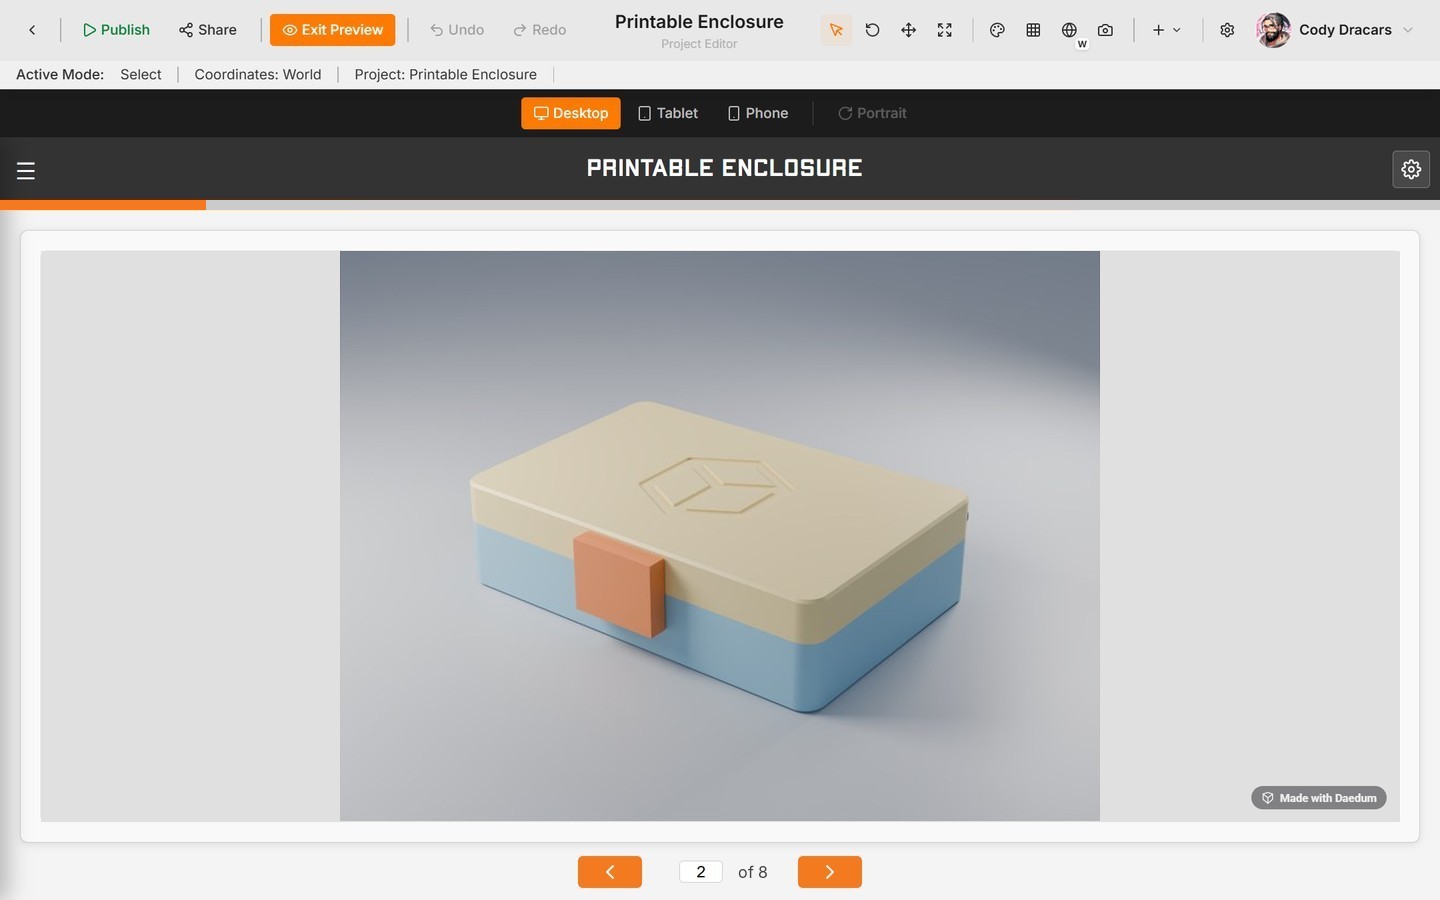
Select Exit Preview once everything is in the right order.
6. Publish the new version
Just like in part 2, your edits aren't live until you publish them.
- Select Publish in the editor toolbar (
Ctrl+Alt+Shift+P). - After
1.1.0, the dialog offers patch, minor, and major choices. Choose minor, which makes1.2.0. - Add private release notes such as
Add safety note, hero image, and closing instructions. - Select Publish.
End users who open the manual's address get the new version straight away. The earlier versions stay in the Versions list on the manual page. Publish, version, and embed covers versions, visibility, and unpublishing.
What this manual does not do yet
The manual now sets expectations before the first step and tells the end user how to use the box at the end. There is one thing still missing:
- An end user who wants to print the box still has no way to get the parts.
Part cards and EasyPrint is next: it adds a parts list to each step and a part card for every part. These guides cover the features on their own:
- Step types: 3D, Image, Text, and Section — Text and Image items, and when to use each.
- Parts, part cards, and EasyPrint — part cards end users can open and print.