Features
Create a manual and upload CAD
Create a manual, upload a STEP file exported from your CAD software, and wait for CAD conversion to finish before you open the editor.
- Audience: Authors getting ready to make their first manual.
- Before you begin: Have a Daedum account and a STEP/STP export of your model.
- Starting point: The dashboard is open.
- End result: A converted CAD source, ready for the editor.
Understand the Project and Manual relationship
A Daedum manual is the editable procedure your end users will eventually follow. When you select New manual on the dashboard, Daedum creates a Project and a Manual together. The easiest way to think about it is that the Project is the workspace, and the Manual is the procedure inside it:
- The Project holds the working context for the CAD source and its manuals.
- The Manual holds the ordered items end users follow. It's built from two things: a name and optional description that identify the work, and a converted CAD assembly that the editor uses as the 3D source for your steps.
- The STEP file you upload becomes the manual's converted 3D source.
- Editing changes the working manual. End users only see those changes after you publish a new version.
For a first manual, you don't need to plan out a complicated project structure. Give the manual a clear name, use the description to explain what it's for, and make sure the CAD source matches the procedure you plan to document. If you make related procedures later on, their names and descriptions should make it easy to tell how they fit together from the dashboard.
Create the Project and Manual
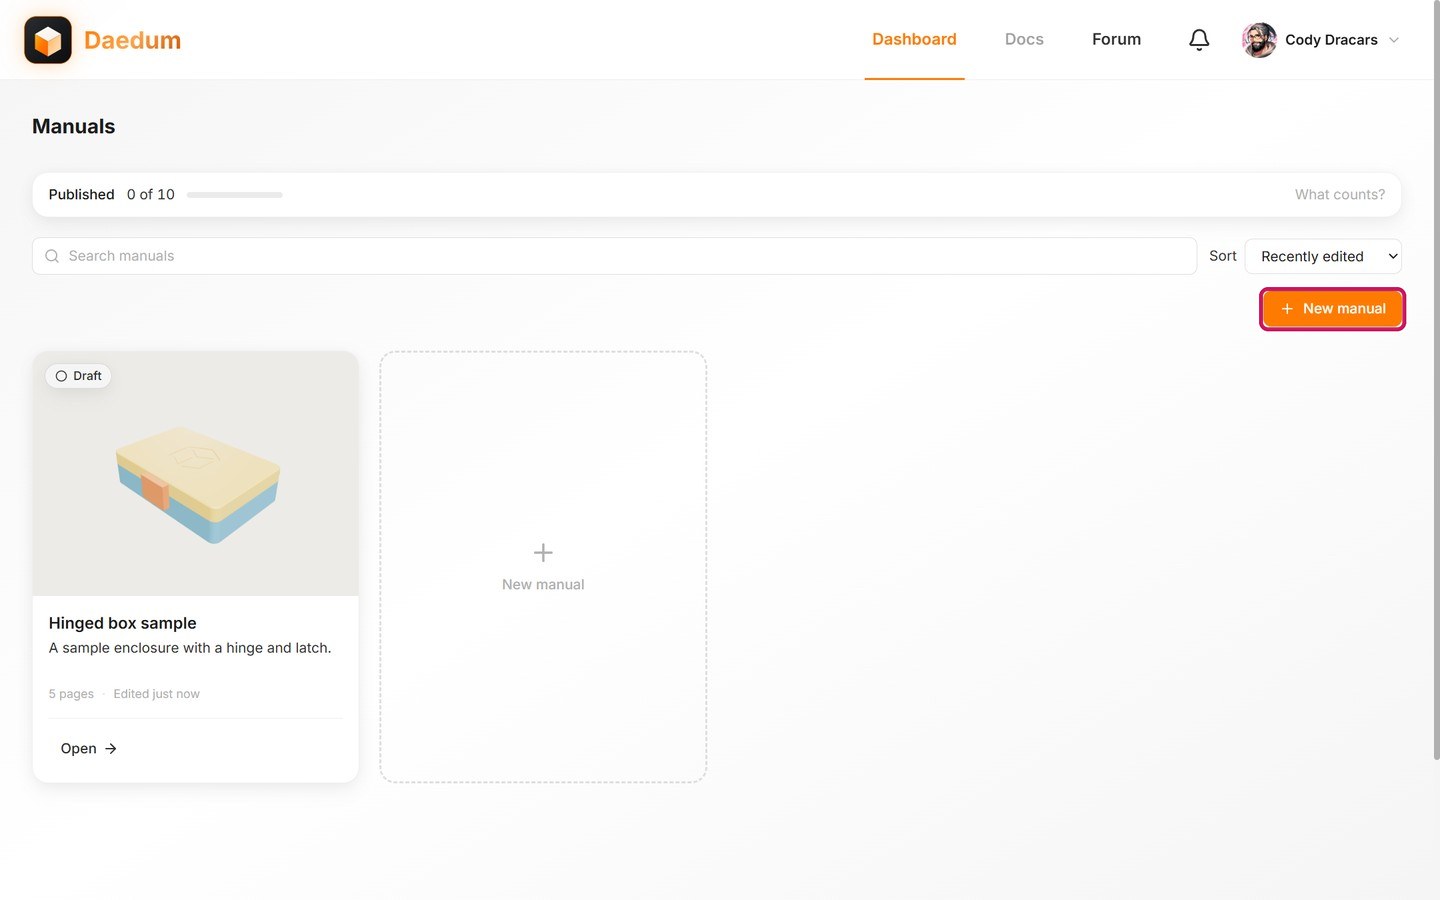
From the dashboard, select New manual. Enter a name that describes the assembly or procedure, add a description if it needs a little more context, and select Create.
The setup dialog creates the Project and Manual together. The description is a good place for notes that will help you recognize the manual later, but it isn't a replacement for the steps themselves.
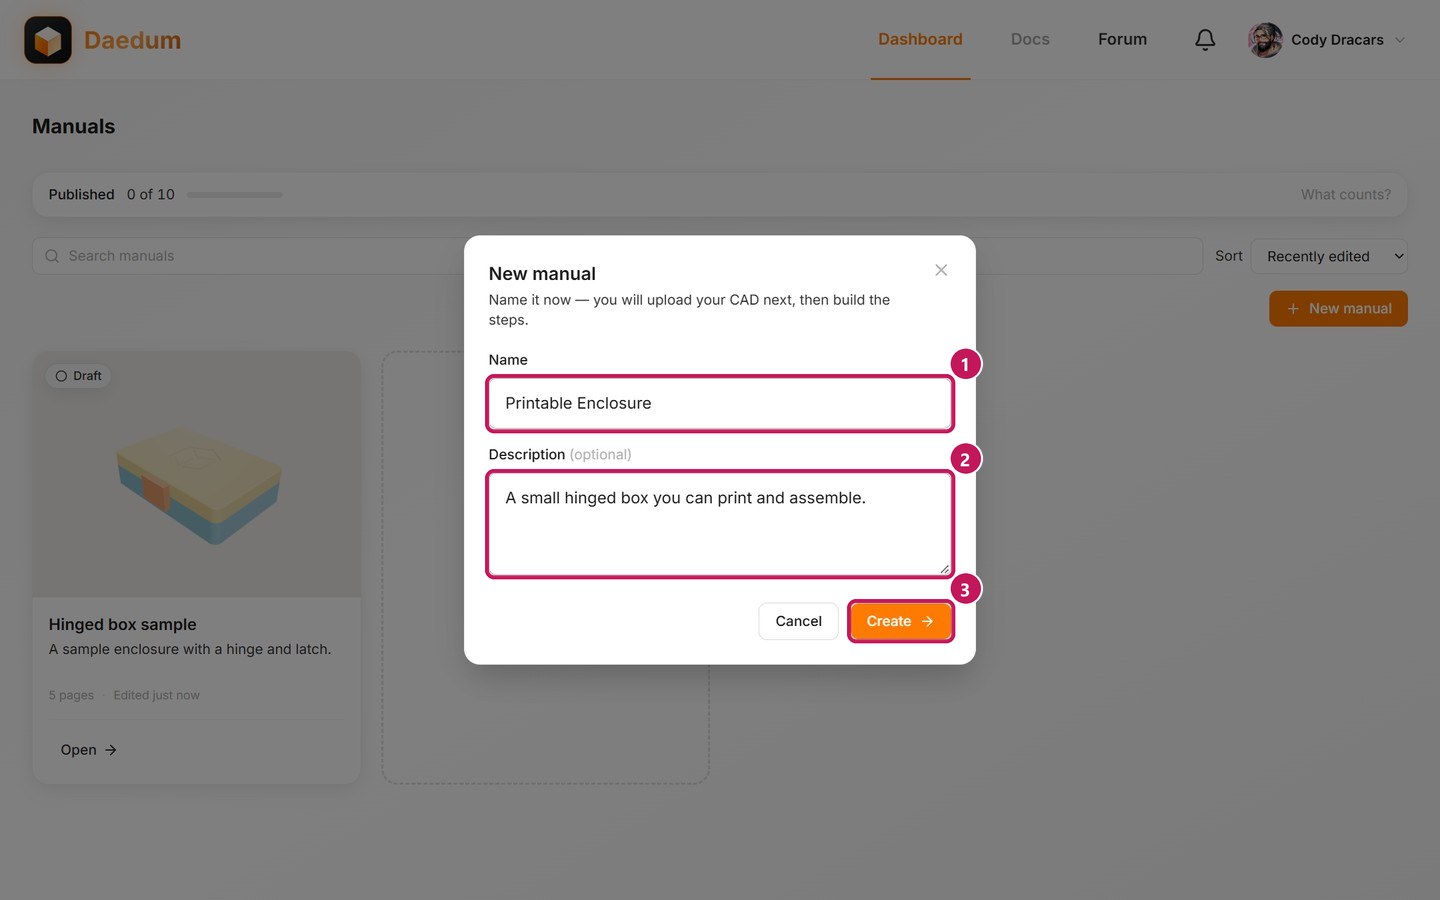
- (1) Enter the name.
- (2) Add a description, if it helps.
- (3) Select Create.
You will land on the manual page. This is where you upload the CAD source, and where you'll come back later to publish and share.
Prepare the CAD source
Daedum accepts STEP files with the .step or .stp extension. A STEP file is a standard CAD export that holds the assembly's geometry, and Daedum turns it into an interactive model.
Before uploading, pick the assembly that matches the procedure you want to document, and make sure the export includes every part an end user needs to see.
Large assemblies can take a while to convert. Feel free to keep the manual page open, or come back to it later to check on the file.
Upload and read the conversion state
On the manual page, select Choose a file or drag the file into the upload area. Hold off on opening the editor until the CAD file shows as completed. The editor needs the converted model to create and save 3D steps.
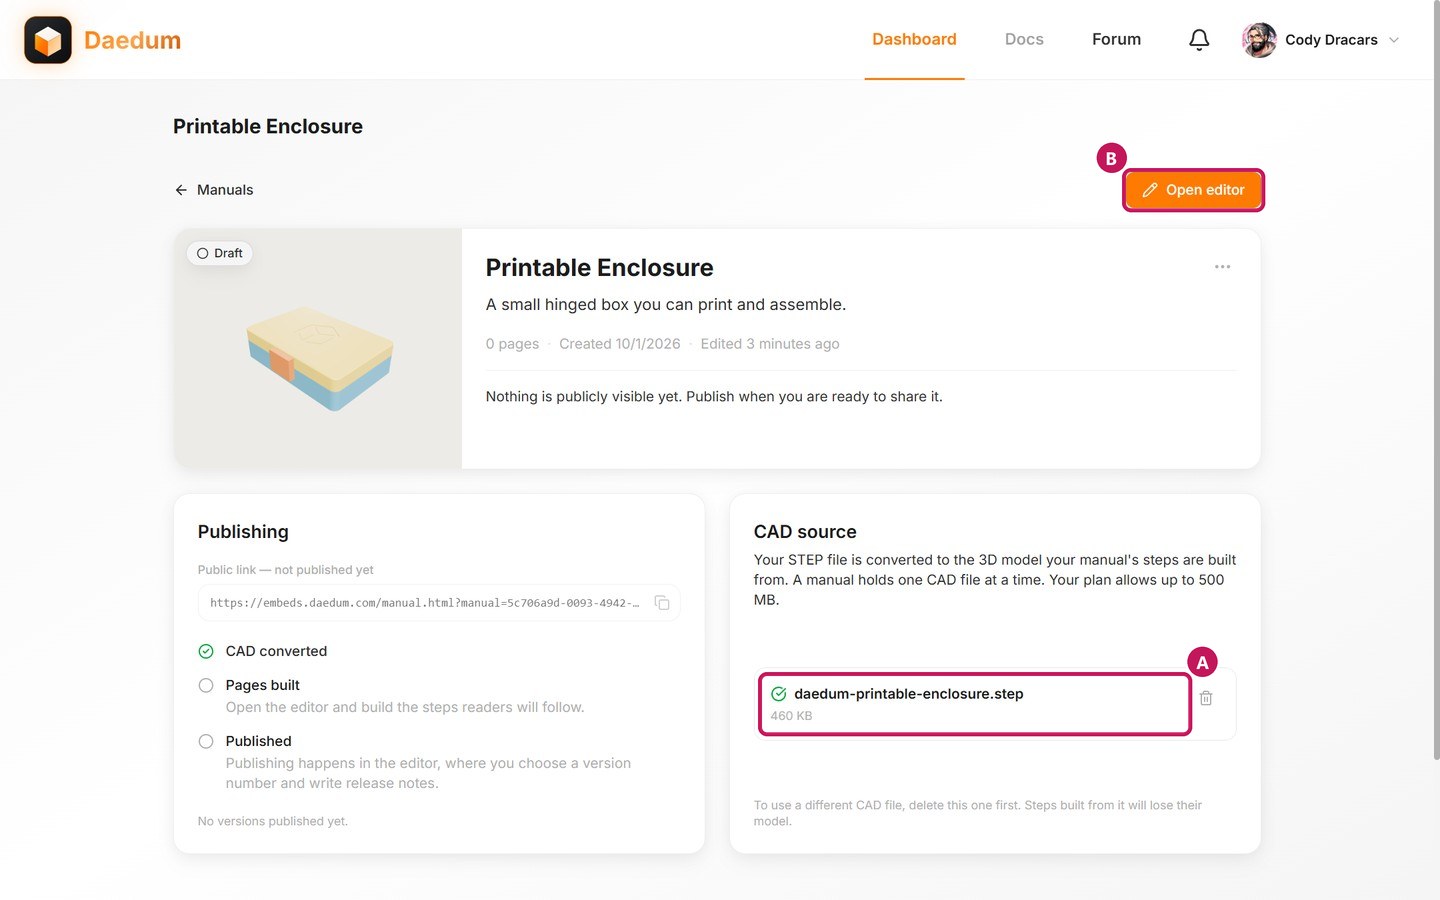
- (A) A green check beside the filename means the conversion is done.
- (B) Open editor is your next step.
The Publishing panel lists what's left before the manual goes live: CAD converted, Pages built, and Published.
If the file fails, remove the failed upload and try a fresh STEP export. If it stays in progress for an unusually long time, take a look at Troubleshooting.
When the manual is ready
Once conversion is complete, select Open editor. If the manual doesn't have any steps yet, the editor creates the first 3D step for you.
From here, head to 3D steps: visibility, cameras, and moving parts to turn the converted assembly into a procedure, or go back to Build and publish your first manual for the guided walkthrough to your first published manual.